Fighting17th
Member
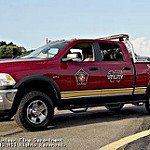
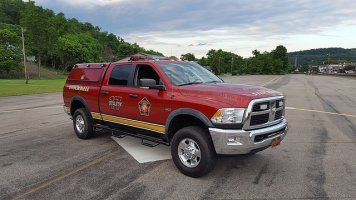
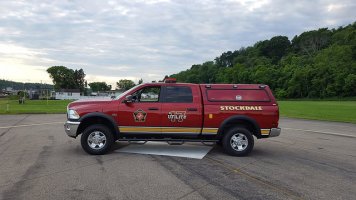
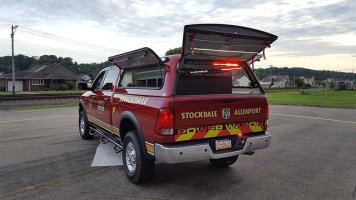
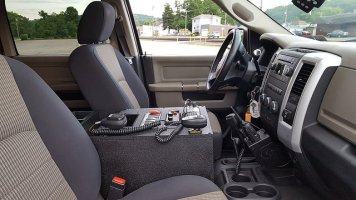
Haven’t posted a build for a while, so I figure I’ll post one of my most involved builds lately. This truck is a 2011 Ram Power Wagon that my volunteer fire department purchased used around 2013. Initially it was setup with 3 toolboxes and a headache rack. My department wanted to use off-brand undercover lighting, but I was able to convince them to buy a few name-brand perimeter lights and I donated a 47” Code 3 2100 light bar for the headache rack. The install was horrible, I helped some, but it was completed by a few members and as you can see in the first few pictures the wiring was a mess, there was wire nuts, t-taps, etc., the console was loosely held onto the existing lower center seat base by threaded anchors, and a number of other problems.
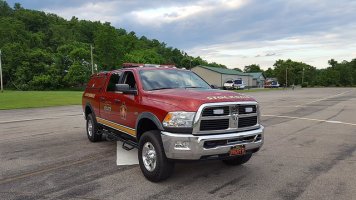
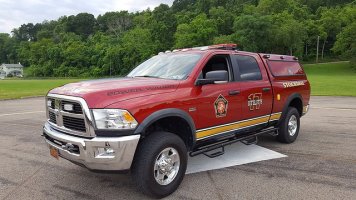
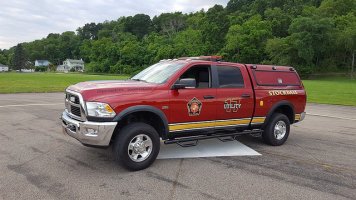
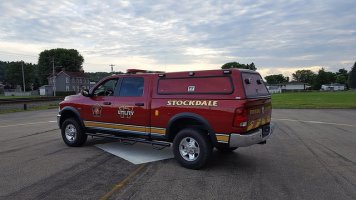
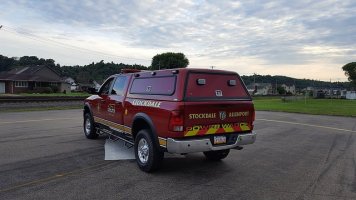
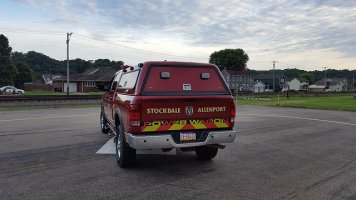
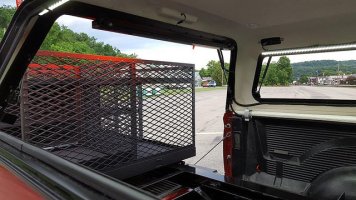
Earlier this year, the department decided to change a few things around on the truck to make it more medical-oriented. It was decided to remove the tool boxes and headache rack and install a cap and slide-out tray. I was asked to do the lighting, but rather than do it “in-house” I only agreed to do it officially through my company, take it home, and do it properly from the ground up. My department agreed and I had the truck for probably almost two months, working in between 3 or 4 other jobs. It took some time but it turned out great.
Everything was stripped out of the truck from the previous install. Here is a list of everything that was installed:
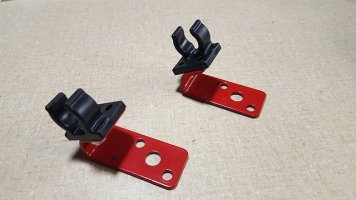
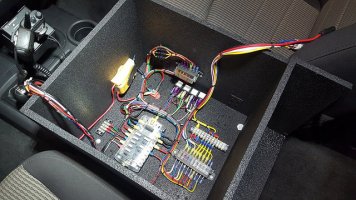
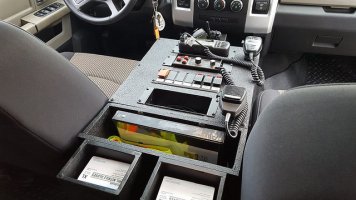
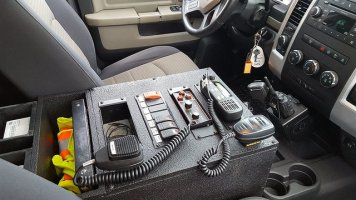
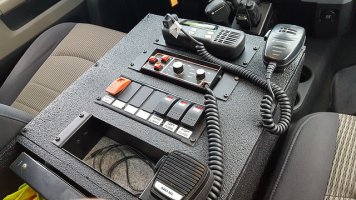
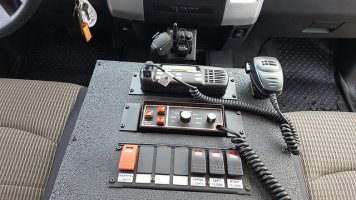
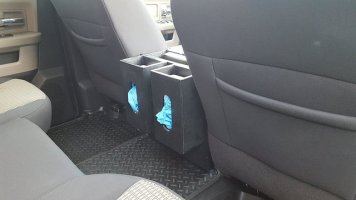
Console: The rest of the bottom of the center seat was removed and a custom wooden console was constructed. Inside is plenty of room for wiring, junction boxes, fuses, etc. The cheap generic switch box (that had backlighting burnt out) was replaced with quality Carling switches, as well as the existing siren and radio, plus a storage pocket for phones, chargers, etc. A large opening in the rear was created for map books and such, plus two glove box holders were installed on the rear of the console. Then the entire console was sprayed with Raptor Liner coating for durability and aesthetics. Magnetic mic holders were installed for both mics.
Radio charger: A quality Motorola vehicle charger was installed to replace a cigarette plug charger.
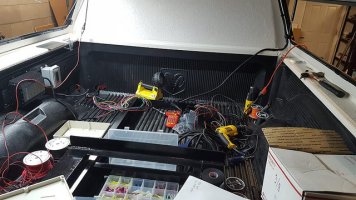
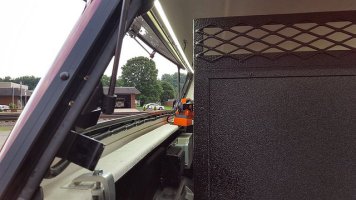
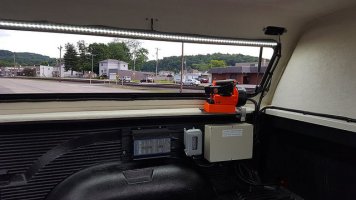
Auto Eject / Battery Charger: A Chargetek smart battery charger was installed and wired to a Kussmaul Auto-Eject which was mounted in the bed-side. A Streamlight Vulcan flashlight charger was mounted inside the side cap door on a custom mounting plate, wired to the shore power. A waterproof dual outlet was also mounted inside the cap to provide additional 120v power while connected to the shore line. All of these items were mounted to a custom “mounting plate” which was actually the repurposed frame from the 47” light bar.
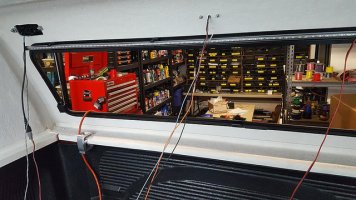
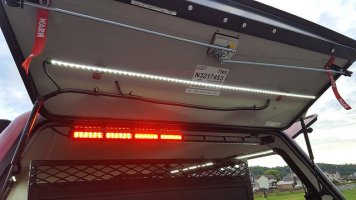
Interior lighting: 3 On Scene Solutions LED strip lights were installed inside the cap to illuminate the entire bed area.
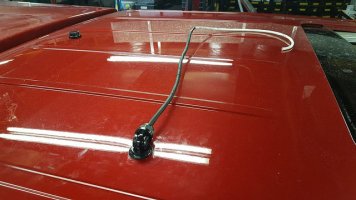
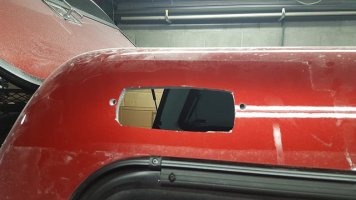
Light bar: The light bar was extended from 47” to 52” with the purchase of a new frame and center lens pieces. This fit the width of the truck much better. The light bar was mounted with a vehicle specific gutter hook kit, and the wiring was installed through the roof with a weatherproof cable gland connector. The radio antenna was also installed on the roof with a proper NMO mount.
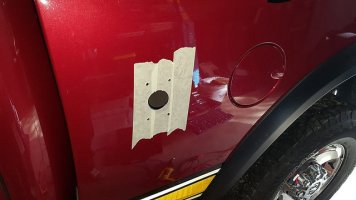
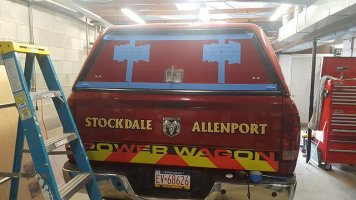
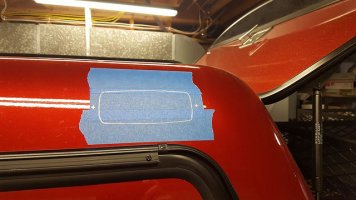
Scene Lighting: The slanted cap with the small surface area on the side proved to be a challenge to find adequate scene lighting that was aesthetically pleasing. The department didn’t want Whelen Micro Pioneers or anything bracket-mounted to the side and sticking out far, plus the side doors would have had clearance issues. After much searching around, Rigid SRQ2 flood lights were used on the top of the cap, two on either side. Each light has two 15 degree angle flanges double-stacked and siliconed. These lights aren’t as bright as Whelen Pioneers or that grade of lighting, but for the area we had to work with, they work great.
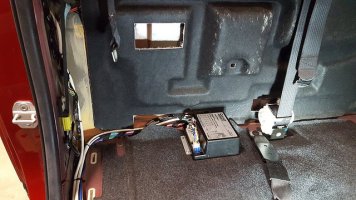
Warning lighting: The existing Whelen M2s were removed from the grille and used for the sides of the cap, also installed with Whelen angle mounts to give the appropriate angle for the best warning. Whelen M7s were installed in the grille. Whelen M6s (one red, one amber) were installed on the rear of the cap, along with two red Feniex T3s under the tail gate for additional warning. A Feniex Fusion 800 warning stick was installed inside the cap so there was still warning when the cap and tail gate are open. The existing strobe system was left in place in the fog lights, tail lights, and reverse lights. The fog and reverse strobes were wired to a parking light relay so they are not activated at night. The strobe pack was moved to behind the rear seat to avoid any RFI.
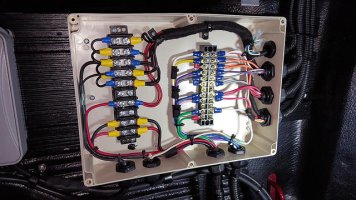
A ChargeGuard was installed to kill power to all accessories 15 minutes after the ignition is turned off. Needless to say, everything was loomed and wired properly with GXL wire and weatherproof connectors. All wire nuts, t-taps, and other nonsense were removed. Everything was fused properly. The junction box in the cap was installed to consolidate all the rear wiring.
Overall, this truck turned out great! I was very pleased with the end result and so was the department. They were very impressed with the compartment and scene lighting at night, as well as the custom console. I am currently beginning the ordering process for some lights for another Rescue truck for the same department, so another build will be coming soon. This is the department I volunteer with, so with both builds, I sold all parts, supplies, and materials at my cost, then donated 50% of the labor hours, and billed the other 50% of the labor hours, since it was an in-depth project.
Original Truck:
Console Before:
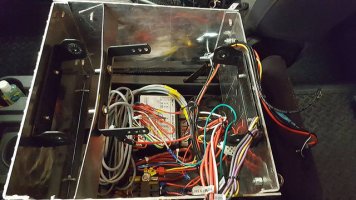
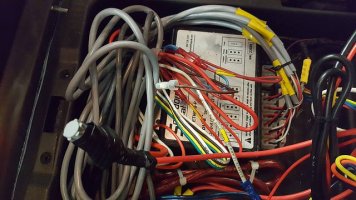
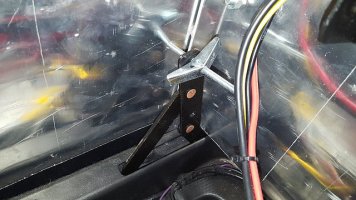
Build in Progress:
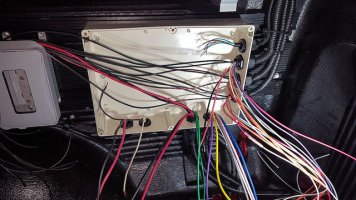
Finished Wiring:
Finished Truck:
Earlier this year, the department decided to change a few things around on the truck to make it more medical-oriented. It was decided to remove the tool boxes and headache rack and install a cap and slide-out tray. I was asked to do the lighting, but rather than do it “in-house” I only agreed to do it officially through my company, take it home, and do it properly from the ground up. My department agreed and I had the truck for probably almost two months, working in between 3 or 4 other jobs. It took some time but it turned out great.
Everything was stripped out of the truck from the previous install. Here is a list of everything that was installed:
Console: The rest of the bottom of the center seat was removed and a custom wooden console was constructed. Inside is plenty of room for wiring, junction boxes, fuses, etc. The cheap generic switch box (that had backlighting burnt out) was replaced with quality Carling switches, as well as the existing siren and radio, plus a storage pocket for phones, chargers, etc. A large opening in the rear was created for map books and such, plus two glove box holders were installed on the rear of the console. Then the entire console was sprayed with Raptor Liner coating for durability and aesthetics. Magnetic mic holders were installed for both mics.
Radio charger: A quality Motorola vehicle charger was installed to replace a cigarette plug charger.
Auto Eject / Battery Charger: A Chargetek smart battery charger was installed and wired to a Kussmaul Auto-Eject which was mounted in the bed-side. A Streamlight Vulcan flashlight charger was mounted inside the side cap door on a custom mounting plate, wired to the shore power. A waterproof dual outlet was also mounted inside the cap to provide additional 120v power while connected to the shore line. All of these items were mounted to a custom “mounting plate” which was actually the repurposed frame from the 47” light bar.
Interior lighting: 3 On Scene Solutions LED strip lights were installed inside the cap to illuminate the entire bed area.
Light bar: The light bar was extended from 47” to 52” with the purchase of a new frame and center lens pieces. This fit the width of the truck much better. The light bar was mounted with a vehicle specific gutter hook kit, and the wiring was installed through the roof with a weatherproof cable gland connector. The radio antenna was also installed on the roof with a proper NMO mount.
Scene Lighting: The slanted cap with the small surface area on the side proved to be a challenge to find adequate scene lighting that was aesthetically pleasing. The department didn’t want Whelen Micro Pioneers or anything bracket-mounted to the side and sticking out far, plus the side doors would have had clearance issues. After much searching around, Rigid SRQ2 flood lights were used on the top of the cap, two on either side. Each light has two 15 degree angle flanges double-stacked and siliconed. These lights aren’t as bright as Whelen Pioneers or that grade of lighting, but for the area we had to work with, they work great.
Warning lighting: The existing Whelen M2s were removed from the grille and used for the sides of the cap, also installed with Whelen angle mounts to give the appropriate angle for the best warning. Whelen M7s were installed in the grille. Whelen M6s (one red, one amber) were installed on the rear of the cap, along with two red Feniex T3s under the tail gate for additional warning. A Feniex Fusion 800 warning stick was installed inside the cap so there was still warning when the cap and tail gate are open. The existing strobe system was left in place in the fog lights, tail lights, and reverse lights. The fog and reverse strobes were wired to a parking light relay so they are not activated at night. The strobe pack was moved to behind the rear seat to avoid any RFI.
A ChargeGuard was installed to kill power to all accessories 15 minutes after the ignition is turned off. Needless to say, everything was loomed and wired properly with GXL wire and weatherproof connectors. All wire nuts, t-taps, and other nonsense were removed. Everything was fused properly. The junction box in the cap was installed to consolidate all the rear wiring.
Overall, this truck turned out great! I was very pleased with the end result and so was the department. They were very impressed with the compartment and scene lighting at night, as well as the custom console. I am currently beginning the ordering process for some lights for another Rescue truck for the same department, so another build will be coming soon. This is the department I volunteer with, so with both builds, I sold all parts, supplies, and materials at my cost, then donated 50% of the labor hours, and billed the other 50% of the labor hours, since it was an in-depth project.
Original Truck:

Console Before:


Build in Progress:


Finished Wiring:


Finished Truck:


Last edited:

